Mounting a Sporty Tank
Posted on 12th Oct 2014
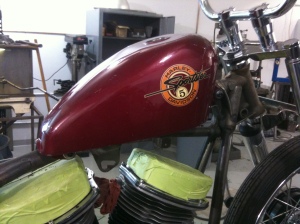
Mounting a Sporty Tank to an Early Rigid Chassis
By bungking
One of the most common gas tanks used on custom early style bikes is the classic sportster tank. It was a quick way to slim down the profile of your bike as well as save some weight. It was a style popular from the mid 60s till today
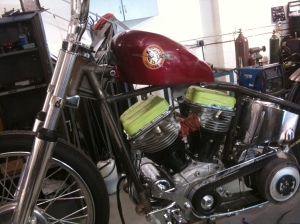
I am going to be using a later style tank that uses a rubber mounting system. The rubber mounts help reduce the vibration felt by the tank and thus increases is durability. You can rigid mount these tanks as well, the factory did early on however the rubber mounted tanks tend to live a longer crack free life. This is a very important thing to consider if you plan on keeping the bike for a long time as well as if you are going to be throwing a bunch of money in custom paint and do not want to have to weld on a painted piece in the future to seal up any cracks.
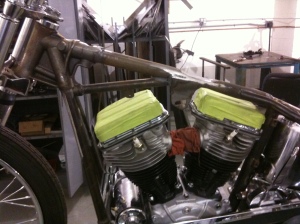
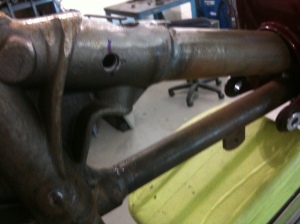
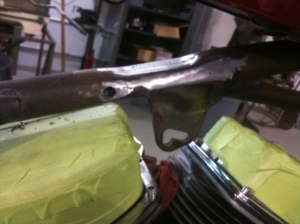
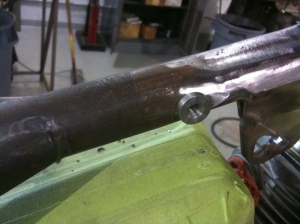
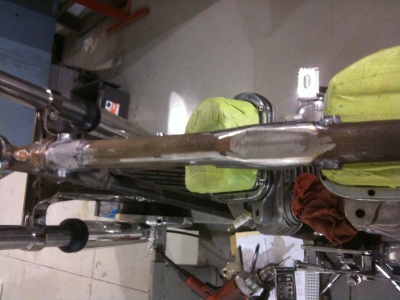
There is a decent size gap that needs to be filled between the fuel tank tabs and the backbone of the frame as seen in these pics. We are going to be mounting the tank in more of a frisco style and this will put the mounting hole in the center of the frame tube. You can insert one large threaded bung or sleeve into the backbone or do what I am doing here and make two coped bungs that can be welded to either side of the backbone.
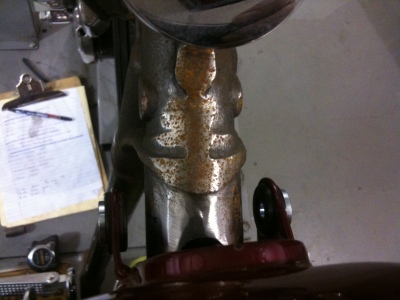
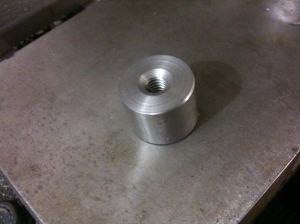
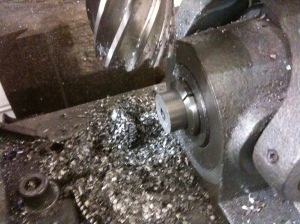
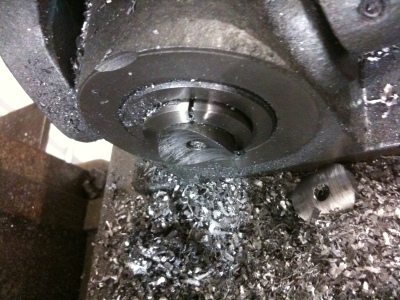
To do this we chuck up a piece of 1″ stock in the lathe and drill and tap it to accept the 5/16 x 18 hardware. I am using the larger dia material to fully support the rubber bushing where too small of a dia can cut into the rubber over time and cause early breakdown of the bushing and a loose tank. Next we chuck it up in our mill and prep it for the coping process. The cope dia needed for the backbone in this case is 1 5/8″ so we install a hole saw of the correct size in the quill and proceed to cope the bung to the correct length.
In this case the standoff length needs to be approximately 3/8″ to fill the gap on either side. We sell a variety of coped threaded bungs on our online store they can be found at http://www.bungking.com/bungs-1/coped.html
Once you find the location on the backbone that looks good to you mark the location of the center of the front mount on the backbone. The insert isn’t very long and I don’t want the bolt to bottom out onto the chassis when welded in place causing a false sense of tightness so the cure is to drill a hole large enough to let the front mounting bolts pass through if the bolt is longer then the bungs thread.
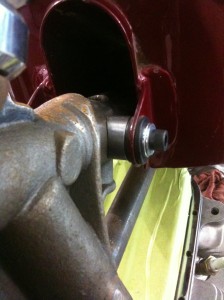
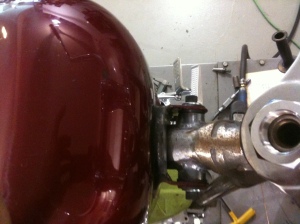
It is now time to tack the front coped bungs in place, it is best to bolt them to the tank so during the welding process you can make sure that everything stays straight and exactly where you want it. Just be carefull to not get to heavy handed when welding or the rubber mounts will melt into a puddle on your rocker box. You need just a small tack or two and final welding can be done later.
With the front mount tacked in place it is now time to move the attention to the rear mount. I am going to be using two of our Flanged Stepped Through Bungs in a 5/16 x 18 thread they can be found athttp://www.bungking.com/bungs-1/stepped-flanged-bungs/stepped-flanged-through-threaded-bungs.html.
By using two separate bungs from either side as opposed to using one solid piece can help you in a few different ways. With the stepped bung the hole that needs to be drilled is much smaller meaning easier drilling and less chance of weakening the chassis. The other plus is if you are going to be running any wiring through the backbone it keeps the tube free and clear. I mark the location of the center of the hole of the mounting hole with the front of the tank still bolted in place and then move the tank out of the way so the frame tube can be drilled. Once the two holes are drilled the two stepped bungs are tacked in place, then the tank is dropped back onto it to make sure it all fits nicely before it is all fully welded.
With everything welded in place you will have a sturdy mount that will stand the test of time and it is designed in a way that the factory intended it to mount.
 Loading... Please wait...